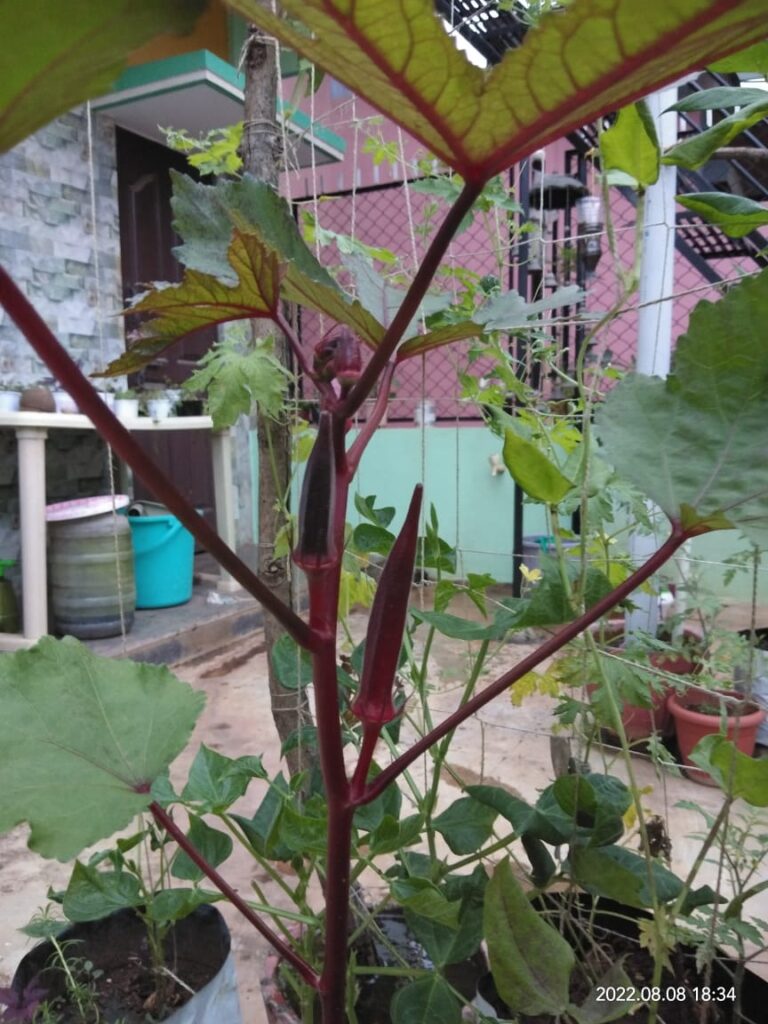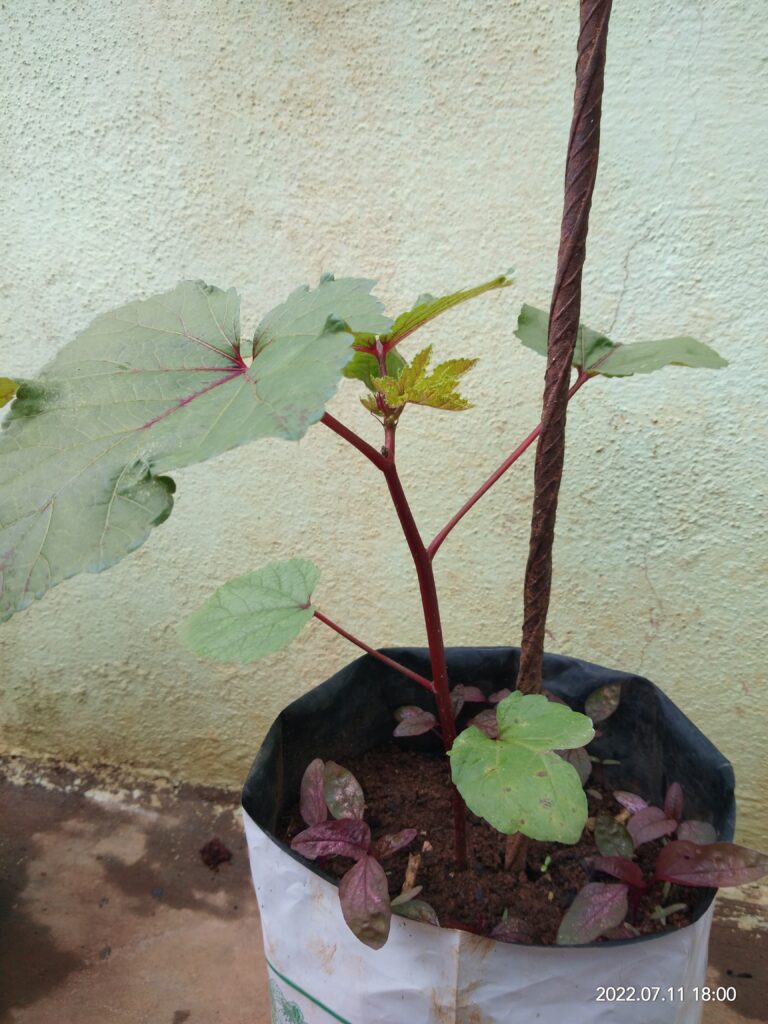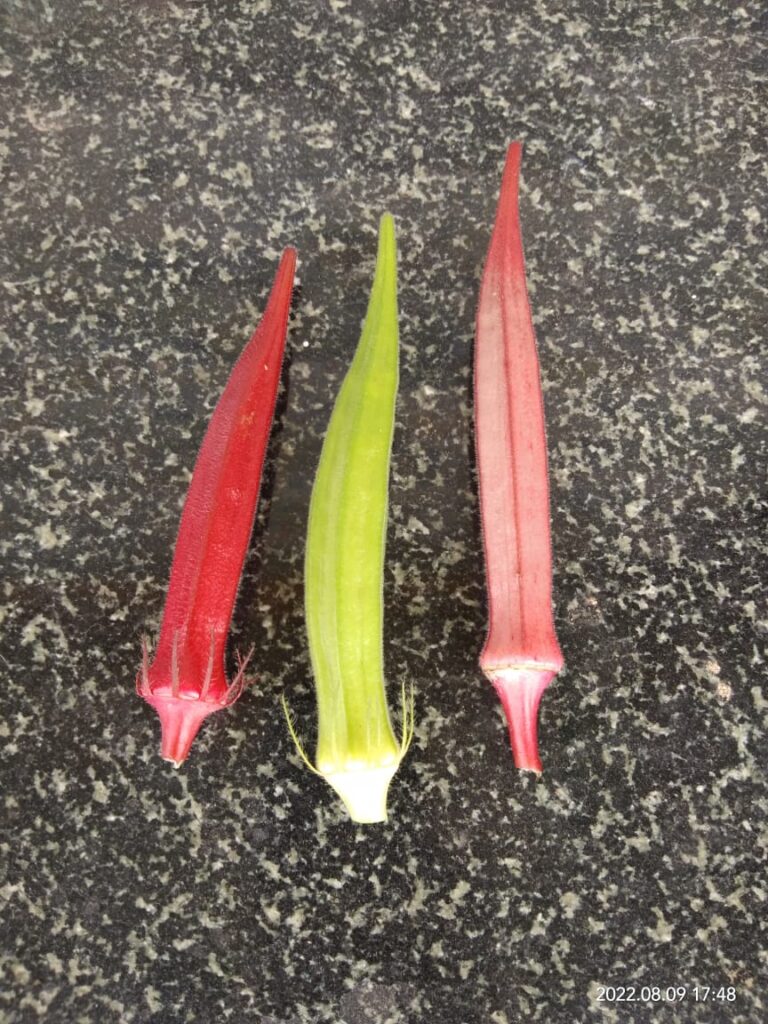
Okra – Ladies Finger
Okra, also known as lady’s fingers, is a vegetable that is widely used in many cuisines around the world. It is a member of the mallow family and is grown in warm climates, particularly in the southern United States, Africa, and South Asia. Okra is a versatile vegetable that can be cooked in a variety of ways. It is often used as a thickening agent in soups and stews, thanks to its mucilaginous properties. It is also commonly used in stir-fries, curries, and other savory dishes. Okra can be roasted, grilled, fried, or pickled, and is often used in salads or as a side dish. In addition to its culinary uses, okra is also a nutritious vegetable. It is low in calories and high in fiber, vitamins, and minerals. Okra is a good source of vitamin C, vitamin K, folate, and potassium. It also contains antioxidants that may have some health benefits. Okra is a popular vegetable in many cultures and is used in a variety of traditional dishes. It is often paired with other vegetables and spices, such as tomatoes, onions, and cumin. Okra is also commonly used in gumbo, a traditional Creole soup from Louisiana, and in bhindi masala, a popular Indian dish. Overall, okra is a versatile and nutritious vegetable that is enjoyed around the world for its unique flavor and texture. Whether cooked in a savory dish or pickled for a snack, okra is a delicious and healthy addition to any diet.
How to grow okra?

Growing okra is relatively easy and requires little maintenance. Here are the basic steps to grow okra:
- Choose the right location: Okra thrives in warm weather and needs at least six hours of direct sunlight each day. Choose a location with well-draining soil that is rich in organic matter.
- Plant the seeds: Okra seeds can be directly sown into the ground or started indoors and transplanted outside once the soil has warmed up. Plant the seeds 1 inch deep and 2-3 inches apart.
- Water regularly: Okra needs regular watering, especially during the early stages of growth. Water deeply once a week or more often during hot weather.
- Fertilize: Okra plants benefit from regular fertilization. Use a balanced fertilizer every 3-4 weeks.
- Control pests: Common pests that can damage okra include aphids, spider mites, and whiteflies. Monitor your plants regularly and treat with insecticidal soap or neem oil if necessary.
- Harvest: Okra is typically ready to harvest 50-60 days after planting. Pick the pods when they are 2-4 inches long and tender. Harvest frequently to encourage continued production.
By following these simple steps, you can successfully grow your own okra in your garden.
How to Harvest okra?

Harvesting okra at the right time is important to ensure that the pods are tender and not too tough. Here are the steps to harvest okra:
- Check the pods: Okra pods are usually ready to harvest when they are 2-4 inches long. Check your plants regularly for pods that are the right size.
- Use gloves: Okra plants have small spines on the pods and stems that can be prickly and irritating to the skin. Wear gloves to protect your hands while harvesting.
- Cut the pod: Use a sharp knife or pruning shears to cut the pod from the stem. Cut the pod close to the stem, but be careful not to damage the plant.
- Harvest frequently: Okra pods grow quickly, so it’s important to check your plants every day or two and harvest any pods that are ready. Frequent harvesting also helps to promote continued production.
- Store the pods: After harvesting, store the okra pods in a cool, dry place until you are ready to use them. They will keep for 2-3 days in the refrigerator.
By following these simple steps, you can harvest your okra at the right time and enjoy its delicious taste and health benefits.
